

With AirDrop, you can wirelessly send documents, photos, videos, websites, map locations, and more to a nearby Mac, iPhone, iPad, or iPod touch.
Share content with AirDrop
, you can wirelessly send documents, photos, videos, websites, map locations, and more with AirDrop for a nearby Mac, iPhone, iPad, or iPod touch.
You can easily share content with AirDrop
- Open the file that you want to send, then click Share button in the app window. Or Control-click the file in the Finder, then select Share from the shortcut menu.
- Pick AirDrop from the sharing options listed.
- Pick a recipient from the AirDrop sheet:

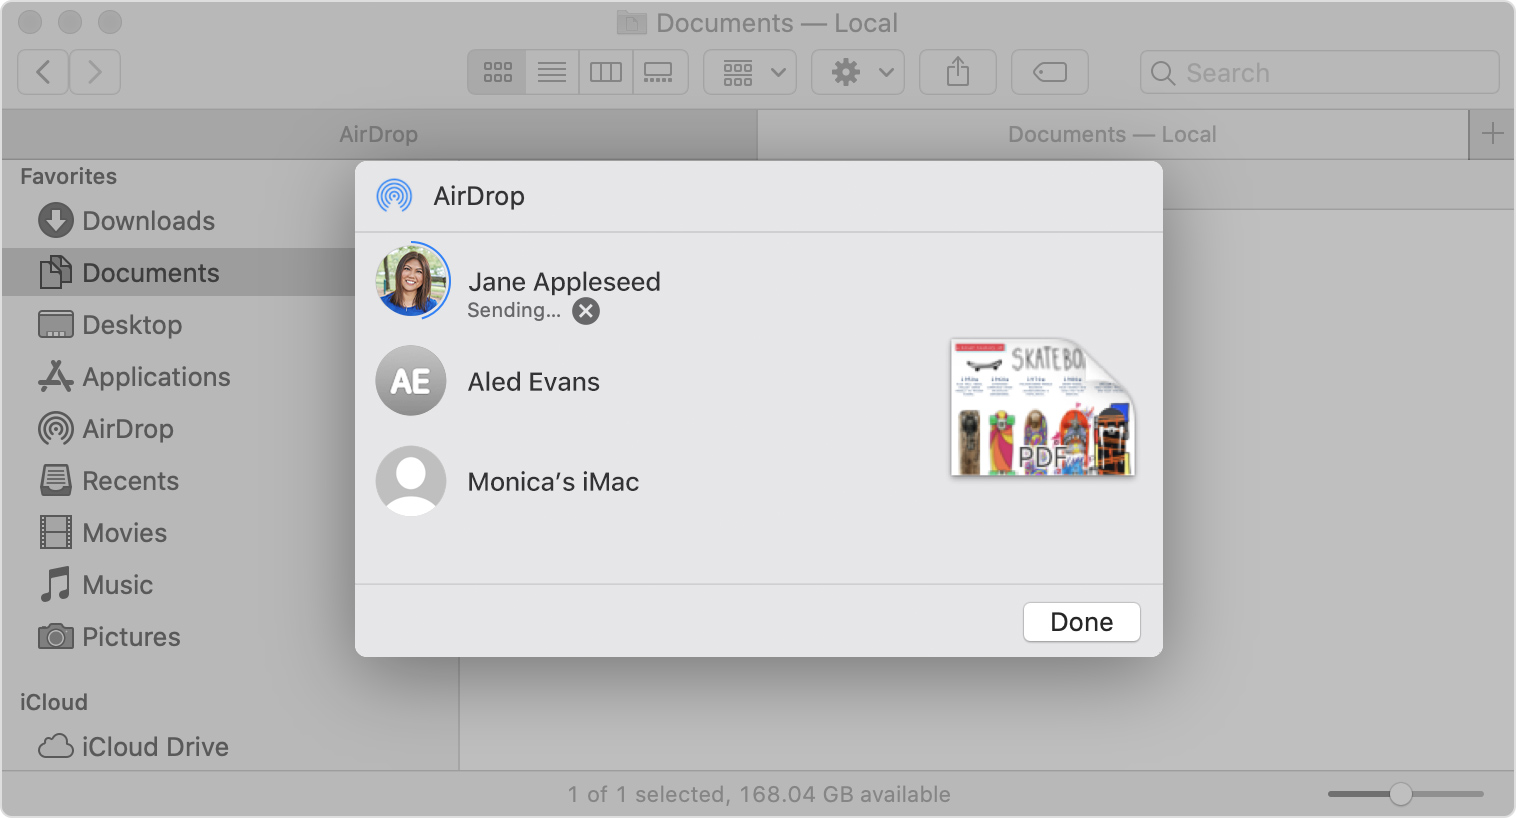
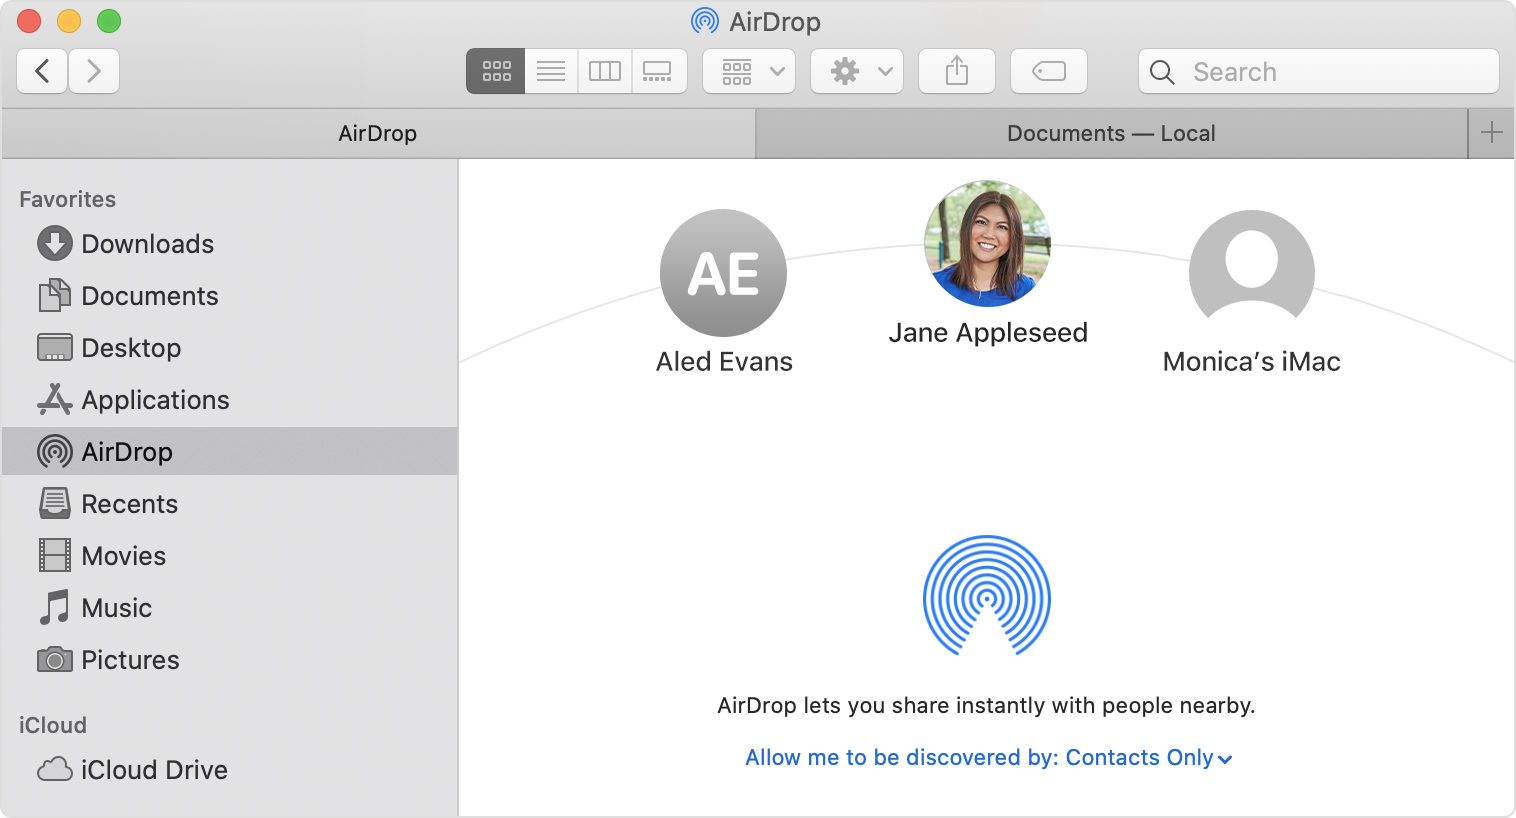
Or you can open an AirDrop window, after that drag files to the recipient:
- Choose AirDrop in the sidebar of a Finder window. Or choose Go > AirDrop from the menu bar.
- The AirDrop window shows nearby AirDrop users. Drag one or more documents, photos, or other files to the recipient shown in the window:
 You can also share content from your iPhone, iPad, or iPod touch.
Get what content that you need with AirDrop
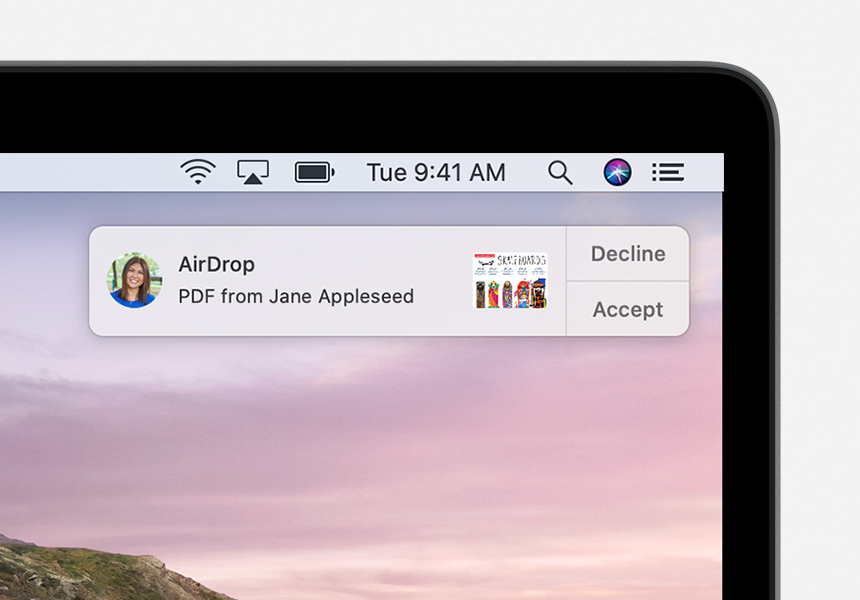
When someone nearby tries to send you files using AirDrop, you see their request as a notification, or as a message in the AirDrop window. Choose Accept to save the files to your Downloads folder.
When you can’t see the other device in AirDrop
Become sure that your devices meet these requirements:
- Both devices are within 30 feet (9 meters) of each other and have Wi-Fi and Bluetooth turned on.
- Each Mac was introduced in 2012 or later (excluding the 2012 Mac Pro) and is using OS X Yosemite or later. In order to find out, choose Apple menu > About This Mac.
- Each iPhone, iPad, or iPod touch is using iOS 7 or later, with Personal Hotspot turned off.
Become sure that your devices can receive AirDrop requests:
- Choose Go > AirDrop from the menu bar in the Finder, then check the” let me to be discovered by” setting in the AirDrop window. iPhone, iPad, and iPod touch have a similar setting. If set to receive from Contacts Only, both devices must be signed in to iCloud, and the email address or phone number associated with the sender’s Apple ID must be in the Contacts app of the receiving device.
- Select Apple menu > System Preferences, then click Security & Privacy. Click the Firewall tab, then click the lock and enter your administrator password when prompted. Click Firewall Options, then deselect “Block all incoming connections.”
Recent Comments